
Plekt is a self-hosted Node.js application.
Already running Plembfin? Follow Upgrading from Plembfin to Plekt to preserve your existing data and settings during the update.
It keeps the watch archive in local SQLite and makes provider requests from the machine where Plekt runs.
Start with the instance itself. A media server is optional during setup, so you can claim Plekt and configure metadata, private lists, or backups before connecting Plex, Emby, or Jellyfin.
Trakt, metadata providers, webhooks, and remote backups can be added after the core connection is healthy.
Before you install
Have these ready:
- A host that can reach each media server by its configured URL.
- Persistent storage for Plekt’s
/datadirectory. - A strong administrator password.
- A Plex token, Emby credentials/API key, or Jellyfin credentials/API key if you are connecting a media server during setup.
The browser is only the client.
A connection can look reachable from your laptop while the Plekt host cannot reach it.
Network testing must ultimately be done from the host that runs the application.
Install with the Windows installer
On 64-bit Windows, download the latest Plekt installer from GitHub Releases and run it as an administrator. It includes the Plekt server, Node.js runtime, and Windows native dependencies, then registers the server as a background service.
The installer keeps the runtime database, artwork cache, logs, and backups in
%ProgramData%\Plekt, separate from any source checkout. An existing Plembfin service and
data folder are moved to the Plekt names when you upgrade. Uninstalling preserves that
data unless you explicitly confirm its removal.
The installer options are preselected for a ready first launch:
- Open Plekt now opens the local dashboard so you can claim a fresh instance.
- Start the notification-area companion adds the tray menu for service status, dashboard access, and stopping the server. Clear it if you do not want Plekt in the tray.
- Create a desktop shortcut adds a convenience shortcut to the dashboard.
- Allow private-network access opens the dashboard port (5056 by default, changeable during
setup) for other devices on the same private network. Leave it cleared when you only use
127.0.0.1on the Windows machine.
The browser launch and tray choice are independent, so you can select both. Alpha testers can use the matching prerelease installer from the GitHub Releases page.
Install with Docker Compose
Create a folder for Plekt and put a private .env file beside the Compose file:
ADMIN_PASSWORD=choose-a-strong-private-passwordCreate docker-compose.yml:
services:
  plekt:
    image: plembfin/plekt:latest
    container_name: plekt
    ports:
      - "5056:5055"
    volumes:
      - ./data:/data
    environment:
      PLEKT_PUBLISHED_PORT: "5056"
      ADMIN_USERNAME: admin
      ADMIN_PASSWORD: "${ADMIN_PASSWORD:?Set ADMIN_PASSWORD in .env before starting}"
    restart: unless-stopped
Stable release images are available as plembfin/plekt:latest on Docker Hub and as
ghcr.io/lasikiewicz/plekt:latest on GitHub Container Registry. You can pin a stable
version, such as plembfin/plekt:2.0.0. Alpha and develop images are published on GHCR
only. Installs that still use the old plembfin/plembfin or ghcr.io/lasikiewicz/plembfin
image names keep receiving releases for at least six months after the rebrand; see
Upgrading from Plembfin to Plekt for the safe update procedure.
Start the container and open http://localhost:5056:
docker compose up -dThe /data volume is essential.
It keeps the database, settings, credentials, artwork cache, logs, and backups across container recreation or upgrades.
Back up this directory and use Plekt’s own backup tools for a portable archive.
Docker Desktop on macOS or Windows
Use a named volume for /data instead of the ./data folder. Docker Desktop shares host
folders through a file sharing layer that can corrupt the SQLite database under heavy
writes, such as a first Trakt sync. The damage shows up as database disk image is malformed.
services:
  plekt:
    # image, ports, environment, and restart as above
    volumes:
      - plekt-data:/data

volumes:
  plekt-data:
Never open the database file (plekt.db, or plembfin.db on an install that predates the
rebrand) from the host while the container is running. Linux hosts are
not affected. To move an existing install, take a backup in
Backups and operations and restore it into the new volume.
Install with Node.js
For a bare-metal install, use Node.js 22.19.0 or newer.
From the repository root:
npm install
npm start
Open http://localhost:5056.
For connected-service testing, start Plekt from a host or network-enabled terminal. A restricted sandbox can reach the local page while still blocking requests to Plex, Emby, or Jellyfin.
Use npm run dev during development when you want server files to reload as they change.
Claim the instance
On a fresh install with no administrator password, Plekt shows:
Claim this Plekt instance
Create the administrator username and password there.
Claiming is a one-time action and should only be done by the person who controls the server.
After claiming, Plekt opens the resumable setup guide.
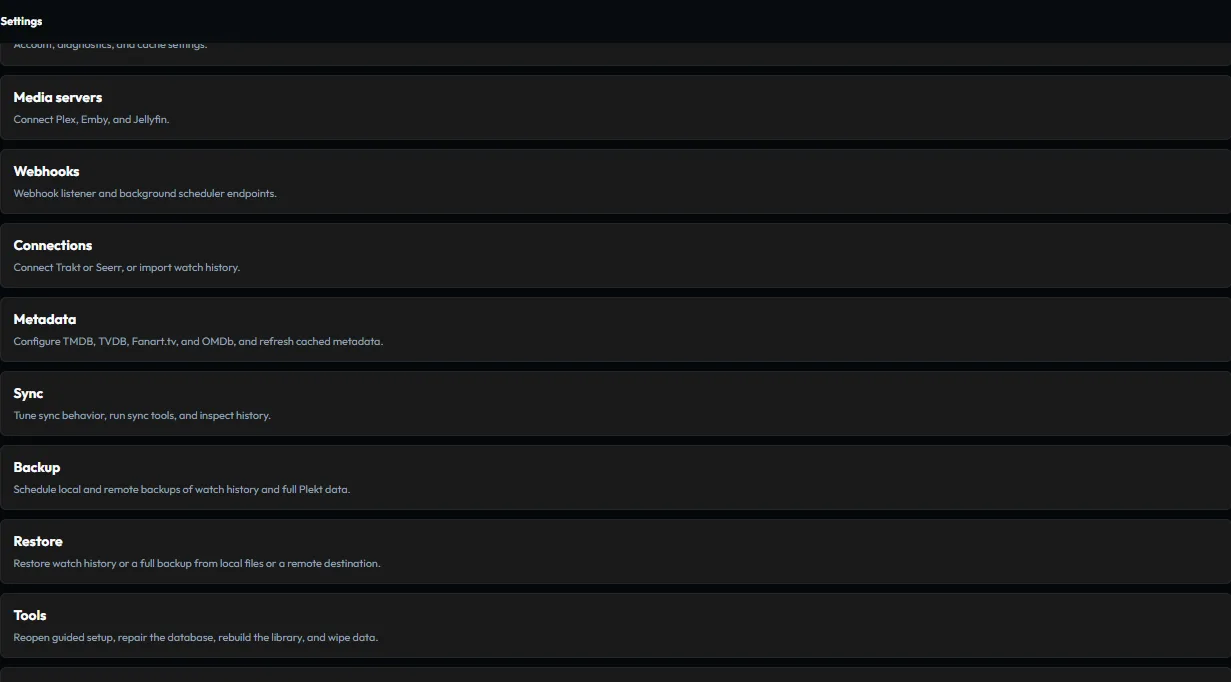
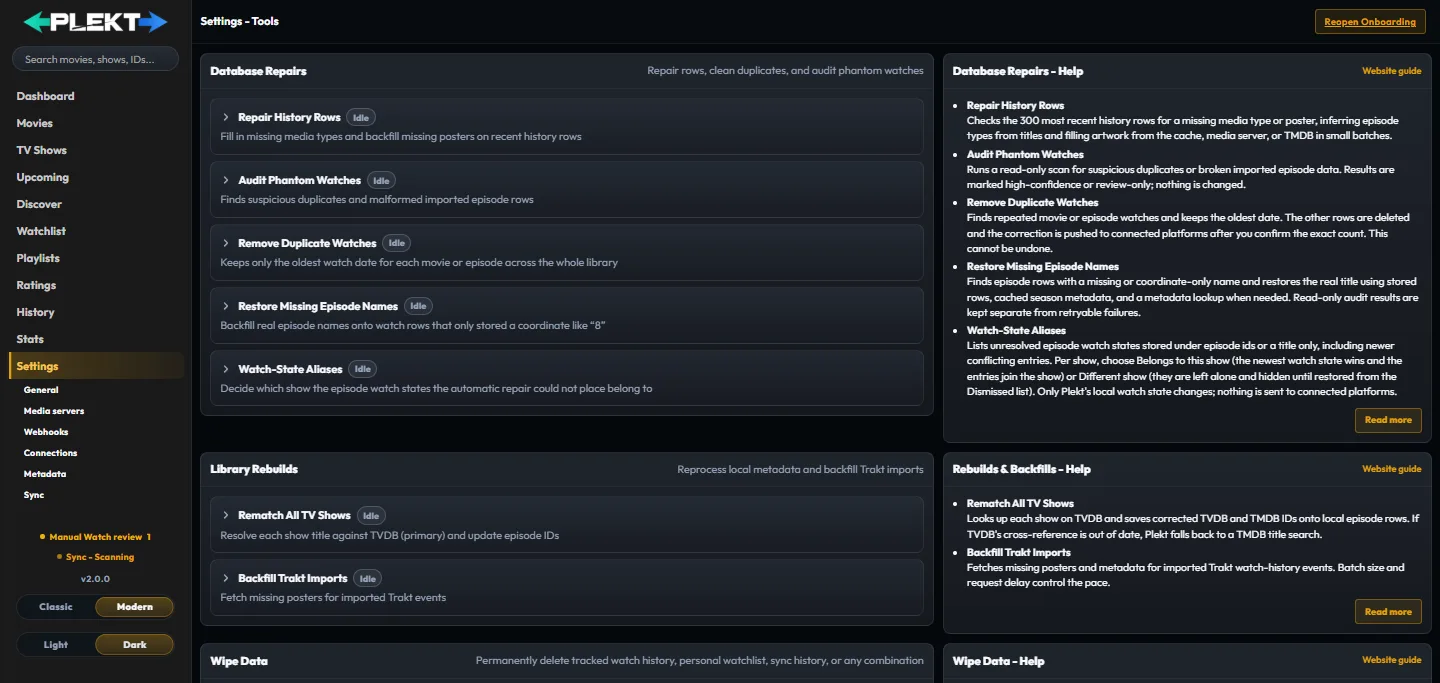
You can reopen it from the Reopen Onboarding link in Settings → Tools.
If you forget the administrator password
Plekt keeps administrator login local to the instance and does not send email reset links.
If you can still sign in, change it under Settings → General → Account.
If you are locked out, stop Plekt, set a new ADMIN_PASSWORD in the host or container
environment, and restart it. If the password was previously changed inside Plekt, remove
only the authManagedInApp property from data/config.json first so the environment value can
be applied. The old password cannot be recovered from its stored hash.
A setup step can be skipped and completed later; the guide does not replace the individual settings pages.
Complete the guided setup
Work through the stages in this order when possible:
- Overview — confirm the instance is running and see which optional services are available.
- Trakt — optionally connect Trakt or import an existing history archive.
- Metadata — add a TMDB key first; add TheTVDB, Fanart.tv, OMDb, or YouTube when you need their additional data.
- Media servers — optionally connect and test Plex, Emby, Jellyfin, or more than one server.
- Webhooks — configure Emby or Jellyfin event delivery. Plex’s built-in WebSocket channel does not need a manual webhook.
- Backup — schedule local backups and optionally configure a Backblaze B2 mirror.
- Import & sync — watch the import and delivery status rather than starting another full sync immediately.
- Options — choose watched-flag handling in Sync Tuning. Require review sends provider Mark Played events without a reliable completion time to Manual Watch review; Fast Local-Network Sync is available only for trusted local networks. Sync Up Next to media apps is enabled by default and coalesces queue additions, removals, reorderings, and progress changes into a background push to Plex, Emby, and Jellyfin, including when the Dashboard is closed.
- Review — confirm each step and open the dashboard.
The Media servers stage is part of Guided Setup. If you skip it, return later through Settings → Media servers rather than repeating an onboarding step here.
Confirm the first sync
The dashboard is the quickest health check after a server is connected.
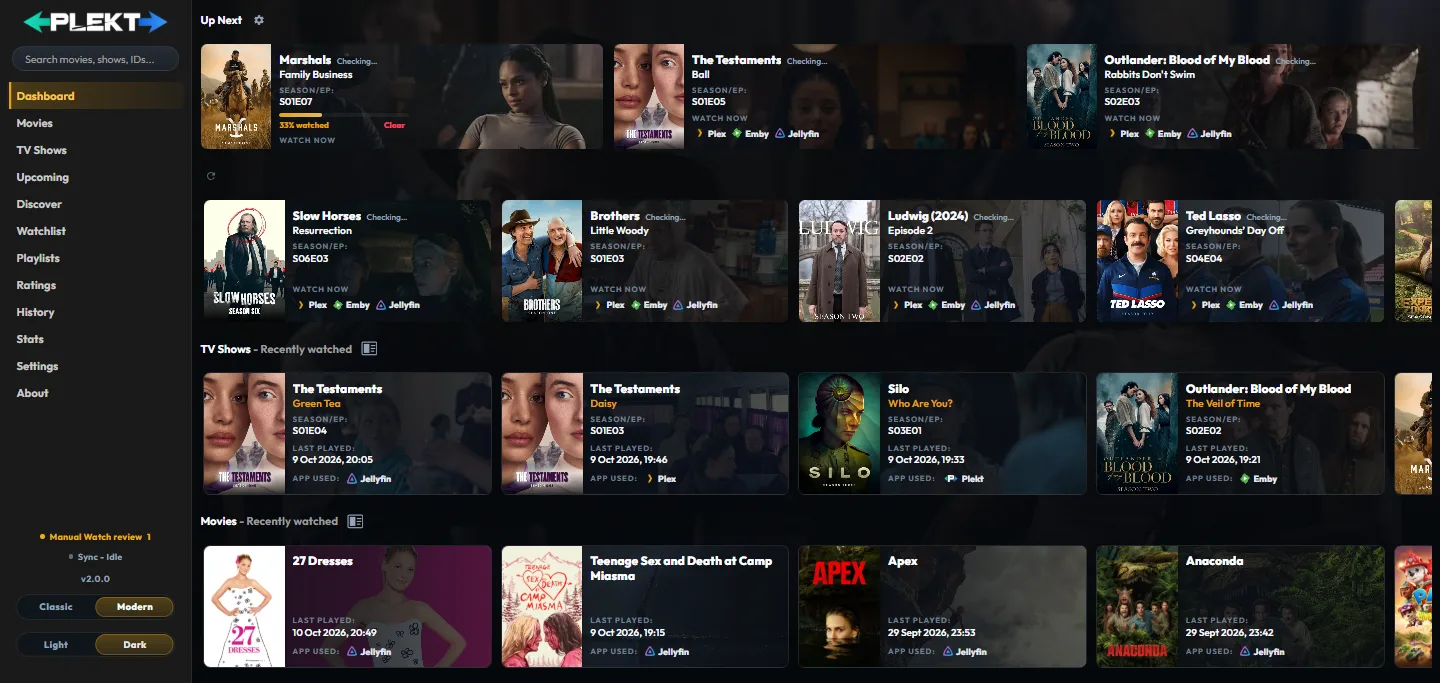
It separates Now Playing, a mixed Up Next queue containing resume items and released TV episodes, and completed TV and movie history rows. Before a media server is connected, use the setup steps and Settings to confirm the instance itself is healthy.
The sidebar sync indicator is only a summary.
For the reason behind a result, open Sync Activity and inspect the source, destination, outcome, and message.
If history is missing, check the media-server connection.
Then check troubleshooting.
If an event is recorded but not delivered, use the Sync Activity guide before running a whole-library repair.